Android TextView
We'll learn about Android Textview Widget in this tutorial. We will also learn about the various attributes used to
configure the Textview widget's basic class.
We can define the widget for Android Textview as below –
"Android Textview is user interface element that shows texts to the user and optionally allow them to edit it.However, Text editing is disabled by default. We need to configure the basic class by adding some attributes tomake it editable."
Different Attributes of Android TextView
Below are the different attributes of android Textview widget that are commonly used to customise the Textview. However, for a complete list of Textview attributes, you can check the android official documentation website.Here we list some of the attributes we commonly need.
| S. No. | XML Attributes | Description |
| 1 | android:id | This is unique id of the Textview to uniquely identify the Textview. |
| 2 | android:height | This is used to provide the height to the Textview. |
| 3 | android:width | Use to set width of the TextView. |
| 4 | android:text | Use to set the text of the Textview. |
| 5 | android:textAllCaps | Use this attribute when you want to show text in capital letters. It takes true or false value only. Default is false. |
| 6 | android:textColor | Use to set the color of the text. |
| 7 | android:textSize | Use to set the size of the text. |
| 8 | android:textStyle | Use to set the style of the text. For example, bold, italic. |
| 9 | android:typeface | Use to set typeface of the text. For example, normal, sans, serif, monospace. |
| 10 | android:autolink | Use this attribute when you want to automatically detect urls or emails and show it as clickable link. |
| 11 | android:autotext | If it is set, it means Textview has a textual input method and automatically corrects some common spelling errors. |
| 12 | android:capitalize | If it is set, it means Textview has a textual input method and should automatically capitalize what the user types. |
| 13 | android:hint | Hint to be shown when there is no text in the Textview. |
| 14 | android:inputType | This is used to define what are the types of data can be entered by the user for this Textview. For example, Phone, Password, Number, Date, Time etc. |
| 15 | android:lines | If you want to set height of the Textview by number of lines, you can do it using this attribute. For example, android:lines=”2”, it means height of Textview will be 2 lines. |
| 16 | android:ellipsize | This attribute causes the text, longer than the view, to be ellipsized at the end. |
| 17 | android:ems | Makes the Textview be exactly this many ems wide. |
| 18 | android:gravity | This is used to align the text (by x-axis, y-axis or both) within this Textview. |
| 19 | android:maxHeight | Use to set the maximum height of the Textview |
| 20 | android:minHeight | Use to set the minimum height of the Textview. |
| 21 | android:maxLength | Use to set the maximum character length of the Textview. |
| 22 | android:maxLines | Use to set the maximum lines Textview can have. |
| 23 | android:minLines | Use to set the minimum lines Textview can have. |
| 24 | android:maxWidth | Use to set the maximum width Textview can have. |
| 25 | android:minWidth | Use to set the minimum width Textview can have |
| 26 | android:cursorVisible | This is used to make cursor visible or invisible. Default is false. |
| 27 | android:drawableBottom | Use this attribute when you want to show any drawable(images etc.) below the text. |
| 28 | android:drawableEnd | Use this attribute when you want to show any drawable(images etc.) to end of the text. |
| 29 | android:drawableLeft | Use this attribute when you want to show any drawable(images etc.) to left of the text. |
| 30 | android:drawablePadding | Use this attribute when you want to add padding to the drawable(images etc.). |
| 31 | android:drawableRight | Use this attribute when you want to show any drawable(images etc.) to right of the text. |
| 32 | android:drawableStart | Use this attribute when you want to show any drawable(images etc.) to start of the text. |
| 33 | android:drawableTop | Use this attribute when you want to show any drawable(images etc.) to top of the text. |
In next, you will learn how to use Android Textview. Follow the steps below to create android project.
After that, we will use TextView in it.
| S. No. | Steps |
| 1 | Open Android Studio. |
| 2 | Go to File => New => New Project. Write application name as TextView. Then, click next button. |
| 3 | Select minimum SDK you need. However, we have selected 17 as minimum SDK. Then, click next button |
| 4 | Then, select Empty Activity => click next => click finish. |
| 5 | If you have followed above process correctly, you will get a newly created project successfully. However, you can also visit tutorial to Create New Project to know steps in detail. |
TextView in Xml File
After creating a project. Open res/layout/activity_main.xml file. Add below code into it.
<?xml version="1.0" encoding="utf-8"?>
<android.support.constraint.ConstraintLayout
xmlns:android="http://schemas.android.com/apk/res/android"
xmlns:app="http://schemas.android.com/apk/res-auto"
xmlns:tools="http://schemas.android.com/tools"
android:layout_width="match_parent"
android:layout_height="match_parent"
tools:context=".MainActivity">

<TextView
android:layout_width="wrap_content"
android:layout_height="wrap_content"
android:text="Hello World!"
app:layout_constraintBottom_toBottomOf="parent"
app:layout_constraintLeft_toLeftOf="parent"
app:layout_constraintRight_toRightOf="parent"
app:layout_constraintTop_toTopOf="parent" />

</android.support.constraint.ConstraintLayout>
Now, we will see MainActivity java file. Right now we don't make any changes. We just see it How our Java file look.
TextView in Java File
Open src/main/java/com.ukacademe.textview/MainActivity.java file. Then, add below code into it.
package com.ukacademe.textview;

import android.support.v7.app.AppCompatActivity;
import android.os.Bundle;

public class MainActivity extends AppCompatActivity {

    @Override
    protected void onCreate(Bundle savedInstanceState) {
        super.onCreate(savedInstanceState);
        setContentView(R.layout.activity_main);
    }
}
AndroidManifest.xml file
Code inside main/AndroidManifest.xml file is as below.
<?xml version="1.0" encoding="utf-8"?>
<manifest xmlns:android="http://schemas.android.com/apk/res/android"
package="com.ukacademe.textview">
<application android:allowBackup="true"
android:icon="@mipmap/ic_launcher"
android:label="@string/app_name"
android:roundIcon="@mipmap/ic_launcher_round"
android:supportsRtl="true"
android:theme="@style/AppTheme"> <activity
android:name=".MainActivity">
<intent-filter>
<action android:name="android.intent.action.MAIN" />
<category android:name="android.intent.category.LAUNCHER" />
</intent-filter>
</activity>
</application>
</manifest>
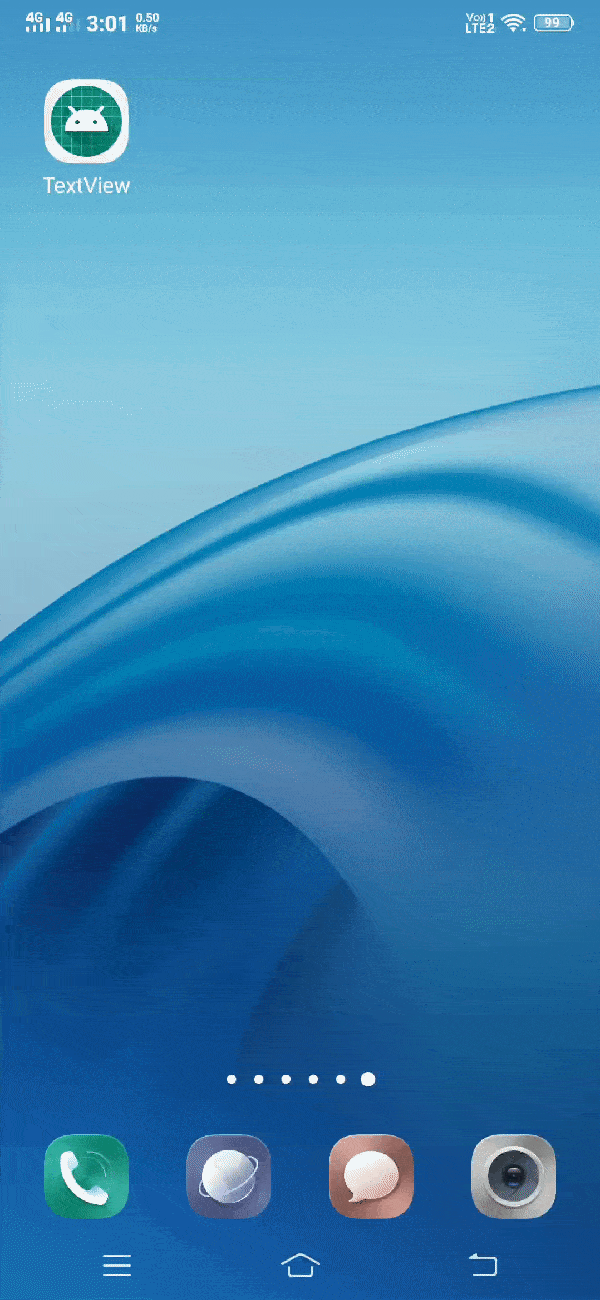
Finally, when you run the app, you will get output as shown below.
Output