Android MultiAutoCompleteTextView
MultiAutoCompleteTextView can be defined as below –
"Android MultiAutoCompleteTextView is an extension of the AutoCompleteTextView that can show suggestions as a list in the dropdown while the user is typing in it. As the name suggests, we can select multiple suggestions from the dropdown. The selected suggestion will be added to the text already entered in the MultiAutoCompleteTextView."
But, the scenario was slightly different in the AutoCompleteTextView. The selected suggestion replaces the entire text in the view in AutoCompleteTextView.
Attributes of Android MultiAutoCompleteTextView
Some of the popular attributes of MultiAutoCompleteTextView are –
| S. No. | XML Attributes | Description |
| 1 | android:id |
This is unique id of the MultiAutoComplete Textview to uniquely identify the MultiAutoComplete TextView. |
| 2 | android:height | Height of the MultiAutoComplete TextView. |
| 3 | android:width | Width of the MultiAutoComplete TextView. |
| 4 | android:textStyle | Style of the text. For example, bold, italic etc. |
| 5 | android:textSize | Size of the text. |
| 6 | android:alpha | Alpha of the MultiAutoComplete TextView. |
| 7 | android:background | Background of the MultiAutoComplete Textview. |
| 8 | android:clickable | Defines whether MultiAutoComplete TextView is clickable or not. |
| 9 | android:focusable | Defines whether MultiAutoComplete Textview can take focus or not. |
| 10 | android:completionHint | Specifies hint to show in the dropdown menu. |
| 11 | android:dropDownHorizontalOffset | Sets amount of pixel by which dropdown is to be offset horizontally. |
| 12 | android:dropDownSelector | Specifies selector in dropdown list. |
| 13 | android:dropDownWidth | Specifies width of the dropdown. |
At first, we will create an android application. Then, we will use MultiAutoCompleteTextView into this application.
Follow the steps below to create new project. Please ignore the steps if you've already created a new application.
| S. No. | Steps |
| 1 | Open Android Studio. |
| 2 | Click on Start a new Android Studio Project Write application name as MultiAutoCompleteTextView. Then, click next button. |
| 3 | Select minimum SDK you need. However, we have selected 14 as minimum SDK. Then, click next button |
| 4 | Then, select Empty Activity => click next => click finish. |
| 5 |
If you have followed above process correctly, you will get a newly created project successfully. However, you can also visit tutorial to Create a New Project to know steps in detail. |
Now, we will modify xml and java file to use MultiAutoCompleteTextView in it.
Modify Values folder
Open res/values/strings.xml file. Then, add below code into it.
<resources>
<string name="app_name">MultiAutoCompleteTextView</string>
<string name="hint">Please type something...</string>

<string-array name="location_array">
<item>Dehradun</item>
<item>Ram Nagar</item>
<item>Mussoorie</item>
<item>Lansdowne</item>
<item>Kotdwar</item>
<item>Haridwar</item>
<item>Almora</item>
<item>Nainital</item>
</string-array>
</resources>
Note that we have defined an array in strings.xml file. This array will be used to show suggestions as list in the dropdown of MultiAutoCompleteTextView.
MultiAutoCompleteTextView in xml file
Open res/layout/activity_main.xml file. Then, add below code into it.
<?xml version="1.0" encoding="utf-8"?>
<android.support.constraint.ConstraintLayout xmlns:android="http://schemas.android.com/apk/res/android"
xmlns:app="http://schemas.android.com/apk/res-auto"
xmlns:tools="http://schemas.android.com/tools"
android:layout_width="match_parent"
android:layout_height="match_parent"
tools:context=".MainActivity">

<MultiAutoCompleteTextView
android:id="@+id/multiAutoCompleteTextView"
android:layout_width="match_parent"
android:layout_height="wrap_content"
app:layout_constraintBottom_toBottomOf="parent"
app:layout_constraintLeft_toLeftOf="parent"
app:layout_constraintRight_toRightOf="parent"
app:layout_constraintTop_toTopOf="parent"
android:hint="@string/hint"
android:layout_margin="20dp"/>

<Button
android:id="@+id/btnSubmit"
android:layout_width="wrap_content"
android:layout_height="wrap_content"
android:text="Submit"
app:layout_constraintBottom_toBottomOf="parent"
app:layout_constraintLeft_toLeftOf="parent"
app:layout_constraintRight_toRightOf="parent"
app:layout_constraintTop_toTopOf="@id/multiAutoCompleteTextView"/>

</android.support.constraint.ConstraintLayout>
MultiAutoCompleteTextView in java file
Open src/main/java/com.ukacademe.multiautocompletetextview/MainActivity.java file. Then, add below code into it.
package com.ukacademe.multiautocompletetextview;

import android.support.v7.app.AppCompatActivity;
import android.os.Bundle;
import android.view.View;
import android.widget.ArrayAdapter;
import android.widget.Button;
import android.widget.MultiAutoCompleteTextView;
import android.widget.Toast;

public class MainActivity extends AppCompatActivity {

    @Override
    protected void onCreate(Bundle savedInstanceState) {
        super.onCreate(savedInstanceState);
        setContentView(R.layout.activity_main);

        final MultiAutoCompleteTextView multiAutoCompleteTextView = findViewById(R.id.multiAutoCompleteTextView);
        // Get the string array
        String[] location = getResources().getStringArray(R.array.location_array);
        // Create the adapter and set it to the MultiAutoCompleteTextView
        ArrayAdapter adapter = new ArrayAdapter<>(this, android.R.layout.simple_list_item_1, location);
        multiAutoCompleteTextView.setAdapter(adapter);

        multiAutoCompleteTextView.setThreshold(1);
        multiAutoCompleteTextView.setTokenizer(new MultiAutoCompleteTextView.CommaTokenizer());

        Button btnSubmit = findViewById(R.id.btnSubmit);
        if (btnSubmit != null) {
            btnSubmit.setOnClickListener(new View.OnClickListener() {
                @Override
                public void onClick(View v) {
                    String text = "Entered text:" + " " + multiAutoCompleteTextView.getText();
                    Toast.makeText(MainActivity.this, text, Toast.LENGTH_SHORT).show();
                }
            });
        }

    }
}
In MainActivity.java file, we have accessed MultiAutoCompleteTextView. Then, we have set an adapter that contains list of locations. The data in the adapter is displayed as a list in the MultiAutocompleteTextView dropdown while user types in the view. We also, provided MultiAutoCompleteTextView.Tokenizer to distinguish between different text entered by the user. You must provide MultiAutoCompleteTextView.Tokenizer in this view. setThresold method is responsible to set character count after which suggestions will be shown to the user while user is typing in the view. At last, we set click listener on the button that displays entered text in the MultiAutoCompleteTextview.
Since the file of AndroidManifest.xml is very important in any android application, we are also going to see the content inside this file.
AndroidManifest.xml
Code inside src/main/AndroidManifest.xml file is as below –
<?xml version="1.0" encoding="utf-8"?>
<manifest xmlns:android="http://schemas.android.com/apk/res/android"
package="com.ukacademe.multiautocompletetextview">

<application
android:allowBackup="true"
android:icon="@mipmap/ic_launcher"
android:label="@string/app_name"
android:roundIcon="@mipmap/ic_launcher_round"
android:supportsRtl="true"
android:theme="@style/AppTheme">
<activity android:name=".MainActivity">
<intent-filter>
<action android:name="android.intent.action.MAIN" />

<category android:name="android.intent.category.LAUNCHER" />
</intent-filter>
</activity>
</application>

</manifest>
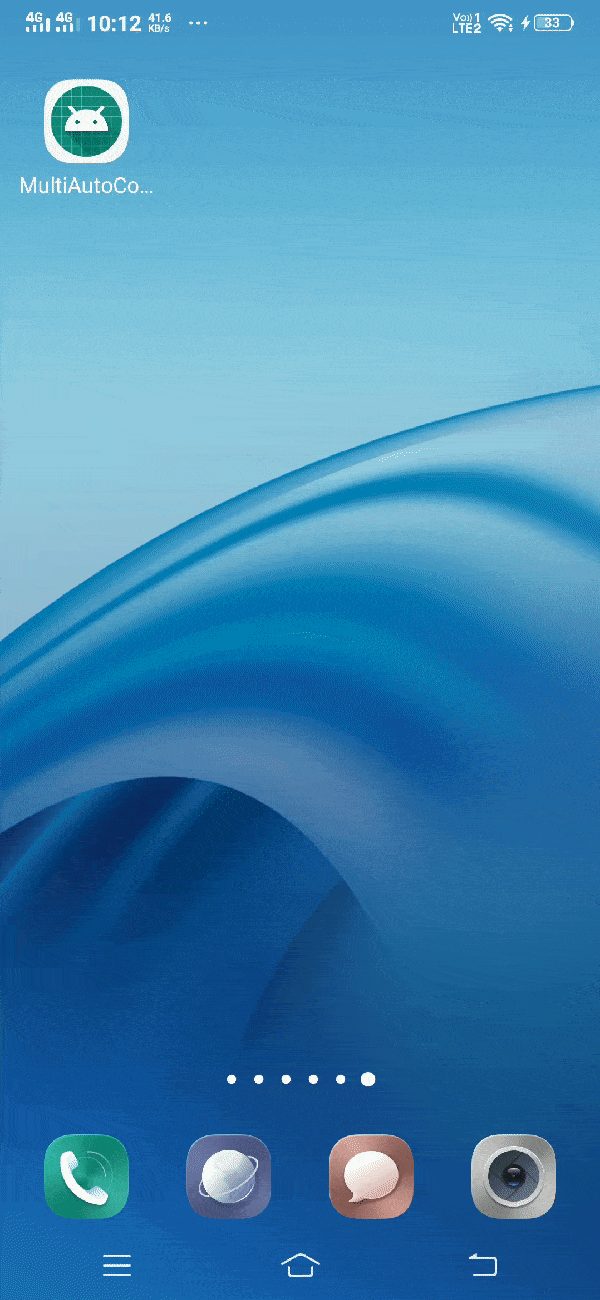
When you run the application, you will get output as shown below.
Output