Android CheckedTextView
CheckedTextView can be defined as below –
"CheckedTextView is an extension of TextView that supports the checkable interface and displays it. It has a checkbox along with some text. It is mainly used in a ListView where we want to show which item is selected or not. The checkmark attribute is used to provide a graph or a drawable to CheckedTextView."
Generally, it is used in ListView where setChoiceMode was set to something other than CHOICE_MODE_NONE.
Attributes of Android CheckedTextView
Some of the popular attributes of android CheckedTextView widget are –
| S. No. | XML Attributes | Description |
| 1 | android:checked | Indicates the initial checked state of this text. |
| 2 | android:checkMark | Drawable used for check mark graphic. |
| 3 | android:checkMarkTint | Tint to apply to the check mark. |
| 4 | android:checkMarkTintMode | Blending mode used to apply the check mark tint. |
Attributes of Android CheckedTextView are also inherited from TextView and View. Some of the popular attributes of this widget inherited from TextView are –
| S. No. | XML Attributes | Description |
| 1 | android:height | It specifies the height of the view. |
| 2 | android:width | It specifies the width of the view. |
| 3 | android:capitalize | If set, it automatically capitalise all the text in the view. |
| 4 | android:cursorVisible | It specifies whether cursor should be visible or invisible. |
| 5 | android:ellipsize | It ellipsizes (ends with dots) text if it is too long. |
| 6 | android:gravity | It specifies how text should be aligned within the view. For example, CENTER, VERTICAL_CENTER or HORITOZAL_CENTER etc. |
Some of the popular attributes of Android CheckedTextView inherited from View are –
| S. No. | XML Attributes | Description |
| 1 | android:id | It specifies the unique id of the view. |
| 2 | android:clickable | It specifies whether view is clickable or not. |
| 3 | android:elevation | It sets base z depth of the view. |
| 4 | android:background | It sets the background of the view. |
| 5 | android:alpha | It sets the alpha property of the view. Values lies between 0 and 1. |
| 6 | android:padding | It sets padding of the view. |
At first, we will create an android application. Then, in the application we will use checkedTextView widget.
Follow the steps below to create new project. Please ignore the steps if you've already created a new project.
| S. No. | Steps |
| 1 | Open Android Studio. |
| 2 | Go to File => New => New Project. Write application name as CheckedTextView. Then, click next button. |
| 3 | Select minimum SDK you need. However, we have selected 14 as minimum SDK. Then, click next button. |
| 4 | Then, select Empty Activity => click next => click finish. |
| 5 | If you have followed above process correctly, you will get a newly created project successfully. However, you can also visit tutorial to Create a New Project to know steps in detail. |
Now, we're going to modify xml and java file to use CheckedTextView in the project.
Modify Values folder
Open res/values/strings.xml file. Then, add below code into it.
<resources>
<string name="app_name">CheckTextView</string>
<string name="checkedTextView">CheckedTextView</string>
<string name="pre_msg">CheckedTextView is</string>
<string name="checked">checked</string>
<string name="unchecked">unchecked</string>
</resources>
CheckedTextView in xml file
Open res/layout/activity_main.xml file. Then, add below code into it
<?xml version="1.0" encoding="utf-8"?>
<android.support.constraint.ConstraintLayout xmlns:android="http://schemas.android.com/apk/res/android"
xmlns:app="http://schemas.android.com/apk/res-auto"
xmlns:tools="http://schemas.android.com/tools"
android:layout_width="match_parent"
android:layout_height="match_parent"
tools:context=".MainActivity">

<CheckedTextView
android:id="@+id/CheckedTextView"
android:layout_width="wrap_content"
android:layout_height="wrap_content"
android:text="@string/checkedTextView"
android:checked="true"
app:layout_constraintBottom_toBottomOf="parent"
app:layout_constraintLeft_toLeftOf="parent"
app:layout_constraintRight_toRightOf="parent"
app:layout_constraintTop_toTopOf="parent" />

</android.support.constraint.ConstraintLayout>
In activity_main.xml file, we have added a CheckedTextView. Now, we're going to access this widget in the java file.
CheckedTextView in java file
Open src/main/java/com.ukacademe.checkedtextview/MainActivity.java file. Then, add below code into it.
package com.ukacademe.checktextview;

import android.support.v7.app.AppCompatActivity;
import android.os.Bundle;
import android.view.View;
import android.widget.CheckedTextView;
import android.widget.Toast;

public class MainActivity extends AppCompatActivity {

    @Override
    protected void onCreate(Bundle savedInstanceState) {
        super.onCreate(savedInstanceState);
        setContentView(R.layout.activity_main);
        final CheckedTextView checkedTextView = findViewById(R.id.CheckedTextView);
        if (checkedTextView != null) {
            checkedTextView.setChecked(false);
            checkedTextView.setCheckMarkDrawable(android.R.drawable.checkbox_off_background);

            checkedTextView.setOnClickListener(new View.OnClickListener() {
                @Override
                public void onClick(View v) {
                    checkedTextView.setChecked(!checkedTextView.isChecked());
                    checkedTextView.setCheckMarkDrawable(checkedTextView.isChecked() ? android.R.drawable.checkbox_on_background : android.R.drawable.checkbox_off_background);

                    String msg = getString(R.string.pre_msg) + " " + (checkedTextView.isChecked() ? getString(R.string.checked) : getString(R.string.unchecked));
                    Toast.makeText(MainActivity.this, msg, Toast.LENGTH_SHORT).show();
                }
            });
        }

    }
}
We have accessed the CheckedTextView widget defined in xml file in MainActivity.java file. Then, when CheckedTextView is clicked we set a listener to show the toast message.
Since AndroidManifest.xml file is very important in any android application, we will also see the content inside this file.
AndroidManifest.xml
Code inside src/main/AndroidManifest.xml file is as below –
<?xml version="1.0" encoding="utf-8"?>
<manifest xmlns:android="http://schemas.android.com/apk/res/android"
package="com.ukacademe.checktextview">

<application
android:allowBackup="true"
android:icon="@mipmap/ic_launcher"
android:label="@string/app_name"
android:roundIcon="@mipmap/ic_launcher_round"
android:supportsRtl="true"
android:theme="@style/AppTheme">
<activity android:name=".MainActivity">
<intent-filter>
<action android:name="android.intent.action.MAIN" />

<category android:name="android.intent.category.LAUNCHER" />
</intent-filter>
</activity>
</application>

</manifest>
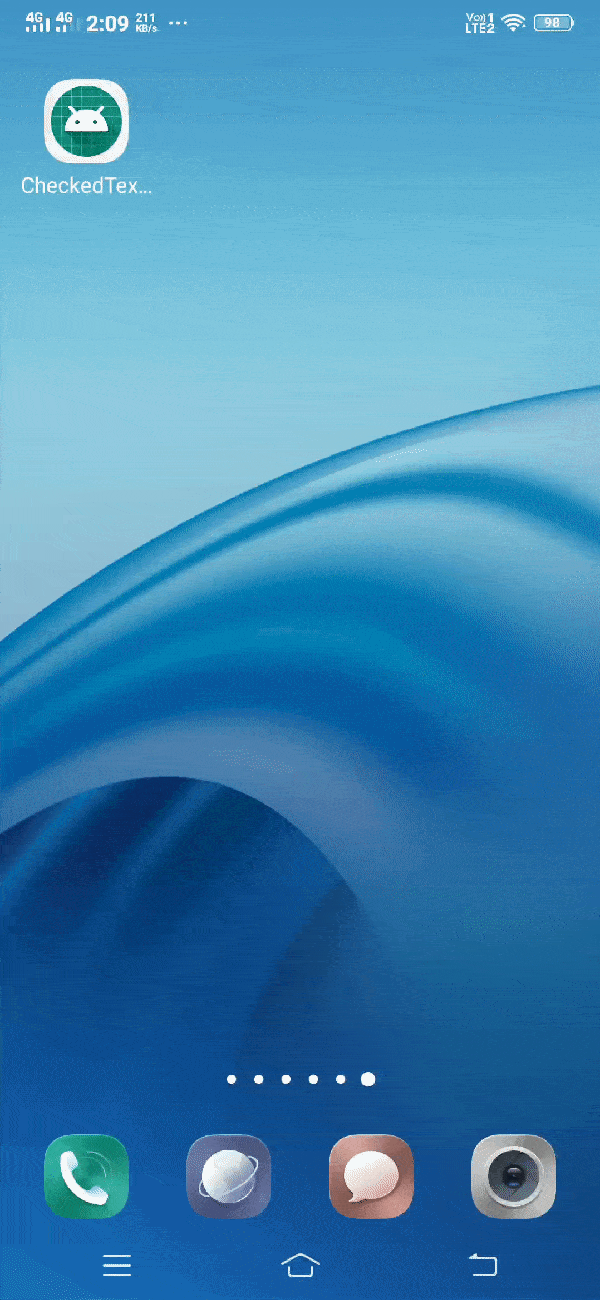
When you run the application, you will get output as shown below.
Output