What is TreeView Control ?
A Tree View Control is a window with a Hierarchical list of objects (for example, document headings, index entries or disk-based files and directories). Each item consists of a label and an optional image bitmapped, with a list of associated items for each item. The user can expand or collapse the corresponding list of items by clicking on the item.
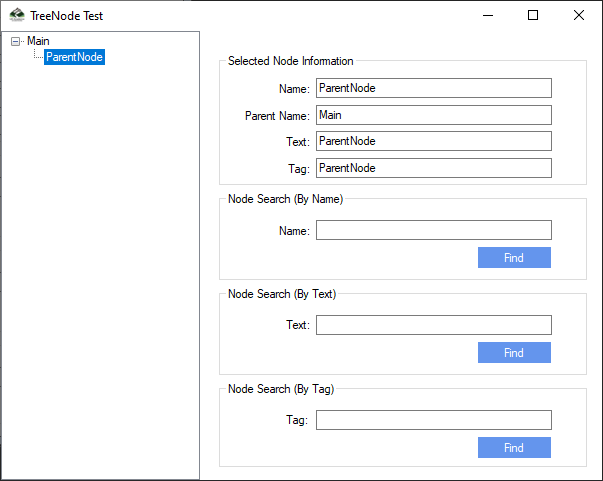
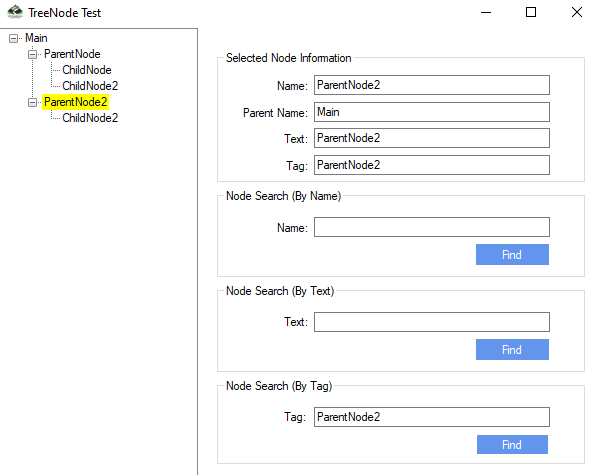
The following image shows a simple control of the tree view with an extended node, a root node and an collapsed node. We can uses a bitmap for the selected item and another bitmap for unselected items.
We can add, remove, arrange, or otherwise manipulate items after creating the tree view a tree view control. Every message has a macro that we can use instead of explicitly sending out the message.
In simple words,
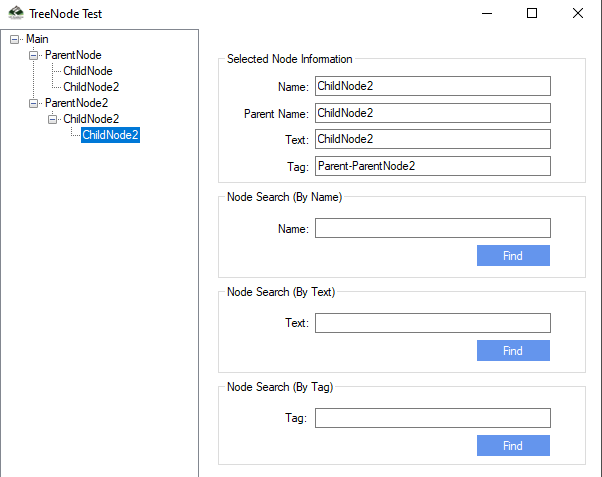
The TreeView control includes hierarchy TreeViewItem controls. It allows information to be displayed in a hierarchical structure using collapsible nodes. The top level in a tree view are root nodes which can be expanded or collapsed If there are children nodes in the nodes.
The TreeView content or the data source can be defined explicitly and the contents can be provied. By clicking on the + button, the user can expand the TreeNode. If one is shown next to the TreeNode, Or by calling the TreeNode Expand method, we can extend the TreeNode.
You can browse tree views with different properties as well.: FirstNode, LastNode, NextNode, PrevNode, NextVisibleNode, PrevVisibleNode.
The treeview control full-path method provides the path from the root node to the selected node.
treeView1.SelectedNode.FullPath.ToString ();
Optionally, tree nodes can also show check boxes.
How to Show CheckBoxes in the TreeView Control ?
Set the CheckBoxes property in the TreeView to be true to show the checkboxes.
treeView1.CheckBoxes = true;
To Add Nodes Programmatically
Use Add Method of the Nodes Property for add the node to the tree view.
// Adds new node as a child node of the currently selected node.
TreeNode newNode = new TreeNode("Text for new node");
treeView1.SelectedNode.Nodes.Add(newNode);
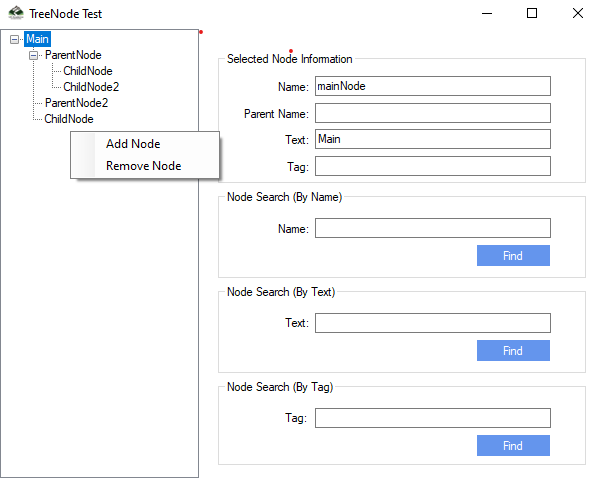
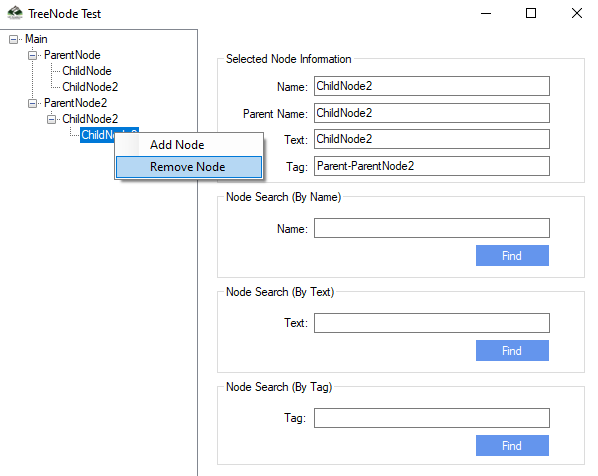
To Remove Nodes Programmatically
Use the Remoce method for removing a single node or the Clear method for clearing all nodes from the Nodes tree view property.
// Removes currently selected node, or root if nothing
// is selected.
treeView1.Nodes.Remove(treeView1.SelectedNode);
// Clears all nodes.
TreeView1.Nodes.Clear();
To Determine Which TreeView Node Was Clicked
- Use the object EventArgs to return the clicked Node object reference.
- To determine what node has been clicked, use the TreeViewEventArgs class which contain event-related data.
protected void treeView1_AfterSelect (object sender,
System.Windows.Forms.TreeViewEventArgs e)
{
   // Determine by checking the Text property.
   MessageBox.Show(e.Node.Text);
}
To Display Images In A Tree View
Set the ImageList property of TreeView control to the current ImageList control. These properties may be set in the Properties window of the designer or in code.
treeView1.ImageList = imageList1;
Set the ImageIndex node and the properties of SelectedImageIndex. The ImageIndex property determines the picture for the ordinary and extended states of the node and The property SelectedImageIndex determines the image for the node selected state.
These features can be set in code or in the TreeNode Editor. Click the ellipsis button( ) next to the Nodes property in the Properties window to open the TreeNode Editor.
// (Assumes that imageList1 contains at least two images and
// the TreeView control contains a selected image.)
treeView1.SelectedNode.ImageIndex = 0;
treeView1.SelectedNode.SelectedImageIndex = 1;
To Finds The Tree Nodes With Specified Key
We can search the tree nodes with the given key, and search the subnodes optionally.
public System.Windows.Forms.TreeNode[] Find (string key, bool searchAllChildren);
Download Source Code For Tree View Control C#